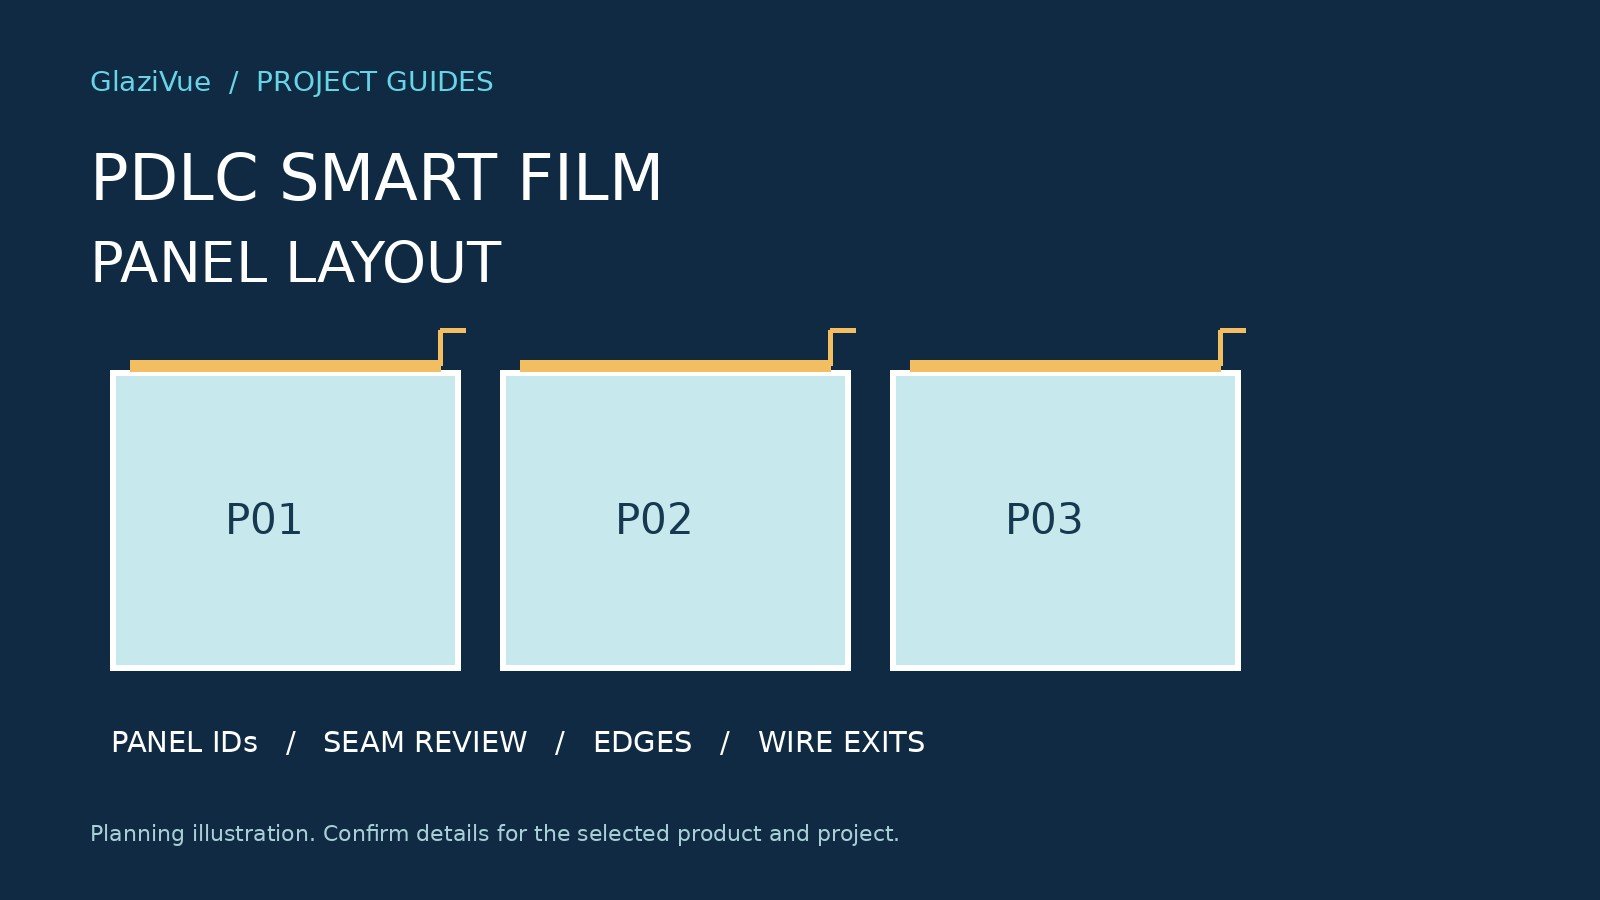
A PDLC smart film panel layout turns a set of glass measurements into a coordinated plan for the finished office partition. It shows which film piece belongs to each pane, where a seam might be needed, and how each electrical connection reaches the agreed control system. Resolving those details before order approval helps the designer, supplier and local installer work from the same drawing.
This guide focuses on layout decisions after the initial site survey. For the measurements to collect when requesting a quotation, use our office glass measurement guide. Quotation dimensions are a starting point; final fabrication dimensions and connection details need explicit project approval.
Start with a numbered glass elevation
Create a simple elevation drawing and assign a unique identifier to every pane, such as P01, P02 and P03. Mark which side faces the room and which surface will receive applied film. Include frames, mullions, door hardware and other visible obstructions. A photo is useful context, but it should accompany a dimensioned drawing rather than replace it.
Keep one schedule that connects each panel ID to its measured glass size, proposed film size, quantity and orientation. Record the measurement source and revision date. When a dimension changes, update the schedule and drawing together so an old screenshot does not become the order reference.
Confirm whether each pane uses one film piece
Do not assume that the largest glass pane can be covered by one continuous piece of the selected film. Ask GlaziVue to confirm the available usable dimensions and production arrangement for the chosen product. The glass size, finished film size and available film format are related, but they are not interchangeable.
If a pane requires multiple film pieces, show the proposed seam on the elevation before approving the order. Discuss its position in relation to sightlines, furniture, mullions and the overall partition pattern. A seam is a design detail to review; it should not appear for the first time during installation.
Review seams in both switching states
Assess the proposed layout in both POWER ON · CLEAR / POWER OFF · FROSTED. Ask how the seam and surrounding edges are expected to appear with the selected assembly, lighting and viewing angle. Use a relevant sample or mockup when appearance is central to the design brief.
A small material sample can help assess switching and surface appearance, but it does not reproduce a full-size multi-piece partition. If your design depends on a particular seam treatment, ask for a review that includes that detail. Our sample evaluation checklist explains how to record expectations before ordering.
Agree on edge gaps and trim details
Show the relationship between film edges, glass edges, frames, gaskets and hardware. Ask the supplier and installer to agree on the required allowances for the selected assembly. Do not apply a universal edge gap or dimensional tolerance taken from another product to your GlaziVue order.
Clarify who determines the final cut sizes, who checks the site conditions and who signs off the fabrication drawing. Where trim or edge protection is proposed, record the intended materials and arrangement for compatibility review. The final drawing should identify the approved detail rather than leave it to an installer to infer from a marketing image.
Place busbars and cable exits on the drawing
Mark the proposed connection edge for each film piece and the intended cable exit. Then show the route to the agreed power supply or controller location. Coordinate these routes with frames, ceilings, accessible enclosures and adjacent finishes before the film dimensions are finalized.
A top-edge connection may suit one partition while a different route is needed on another. Let the actual site layout and approved product requirements determine the arrangement. Keep electrical design and installation with the qualified professional responsible for the project. Use our controller planning checklist to connect the elevation with the control brief.
Keep moving doors separate from fixed panels
Identify every moving leaf on the drawing. Door swing, hinges, handles and cable movement require their own review; a route that works on a fixed pane is not automatically suitable for a door. Read our office glass door checklist before combining doors with fixed partitions in one order.
Also record which panels should switch together. A shared control group is a functional decision, while a continuous-looking elevation is a visual decision. Confirm both with the supplier and electrical professional instead of assuming one determines the other.
Approve one coordinated order package
Before fabrication approval, assemble the latest elevation, panel schedule, final film dimensions, seam positions, edge details, busbar orientations and cable exits. Add the agreed control grouping and responsible contacts. Make unresolved items visible and settle them before a drawing is treated as final.
Example PDLC panel schedule: P01, P02 and P03
The following is a conceptual three-pane example, not a fabrication drawing. Replace every “to confirm” entry with verified project information. Left and right must refer to the same room-facing view on the drawing.
| Panel ID and position | Measured glass size (W × H) | Film size and seams | Connection and wire exit |
|---|---|---|---|
| P01 — left fixed pane | To confirm; state units and measurement source. | Finished film size and whether one piece is possible: to confirm. | Illustrated upper connection edge and left exit: proposed only, subject to approval. |
| P02 — centre fixed pane | To confirm; state units and measurement source. | Finished film size and seam requirement: to confirm. | Illustrated upper connection edge and right exit: proposed only, subject to approval. |
| P03 — right fixed pane | To confirm; state units and measurement source. | Finished film size and seam requirement: to confirm. | Illustrated upper connection edge and right exit: proposed only, subject to approval. |
For each panel, also record quantity, selected model, film application side, frame or hardware obstructions, proposed cable route and control group. Mark any moving door separately. The connection positions in the illustration are examples, not approved wiring instructions.
Before order approval, confirm the final film dimensions, seam positions, required edge details, compatible connection arrangement and drawing revision with the supplier and responsible local installer. Ask for missing product-specific dimensions rather than applying a universal gap or clearance.
Frequently asked questions
Will a large glass pane need a seam?
That depends on the pane dimensions, selected product format and confirmed usable film dimensions. Ask for a project-specific layout review rather than relying on a generic maximum width.
What edge gap should I leave around PDLC film?
The required allowance must be confirmed for the selected product and assembly. This guide deliberately gives no universal numerical gap or cutting tolerance.
Can I move the wire exit after approving the order?
Ask the supplier to review the proposed change before proceeding. Connection orientation, film dimensions and cable routing should be resolved together; an approved layout should not be altered informally on site.
Send your layout for review
Submit your office glass project with a numbered elevation, pane dimensions, photos, proposed seam locations and preferred control groups. Explore GlaziVue products to discuss the appropriate format. GlaziVue supplies products and project information; local qualified trades handle site measurement, installation and electrical work. Contact projects@glazivue.com for a project-specific review.
Discuss your office glass project
Send your project location, approximate glass area, photographs and product format. For a layout review, include your numbered glass elevation, panel schedule, proposed seam positions and wire exits. Identify dimensions that are estimates.